

When you hear the words "refinished furniture" it sounds like a pretty daunting and difficult task. But it's actually quite an easier and less painful process than you might imagine. Or it was for me anyhow!
As a gift to my best friend Ashley for her upcoming wedding, I wanted to give her something she really needed and could use pretty much everyday. After realizing that what she and Nick needed most was furniture, I decided the most afforable way to give this gift to them would be to buy an older piece and refinish myself (with the help of mom and dad, of course!). Plus you know I love to make gifts because it just feels like more love goes into them :)
My mom ended up finding a great deal on a local website listing and we were able to get two end tables for Ashley's living room for $40 total. With my supplies (listed below) I ended up spending right at $50 for a gift that they can use for a long time, or they could always sell it at some point, too.
Supplies needed:
• One quart latex paint ($9.88)
• Paint brushes
• Sand paper
• Dual action sander (optional)
Time spent: Approx. 5 hours
Money spent: Under $50
As I said earlier, the process itself is pretty easy. It's just sand and paint. Or at least in our case, this was the route we decided to use. You can also stain furniture and even paint and then distress the paint job afterward. But let's just focus on this particular project for now.

Here's our before photo. As you can see there was a pretty hefty amount of damage on this piece, but nothing that couldn't be sanded out. So that's our first step.
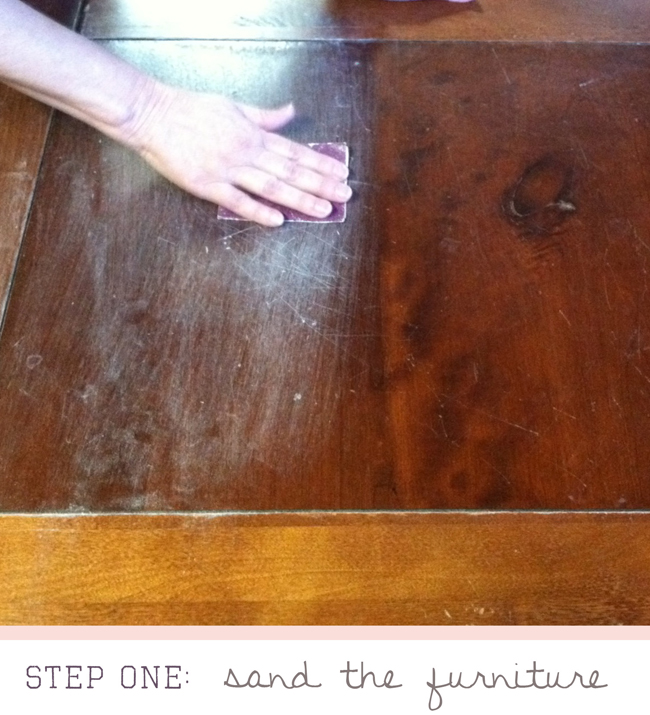
When you sand, be sure to start with hand sanding. In our case, we needed to get a few spots sanded down further than what good old fashioned elbow grease could do, so we also used a dual action sander after we hand sanded everything. (dual action sanding not pictured)
Also, be sure that when you hand sand, you sand with the grain of the wood.
After you're finished, wipe the furniture clean of all dust and even use an air compressor to blow away dust if possible.
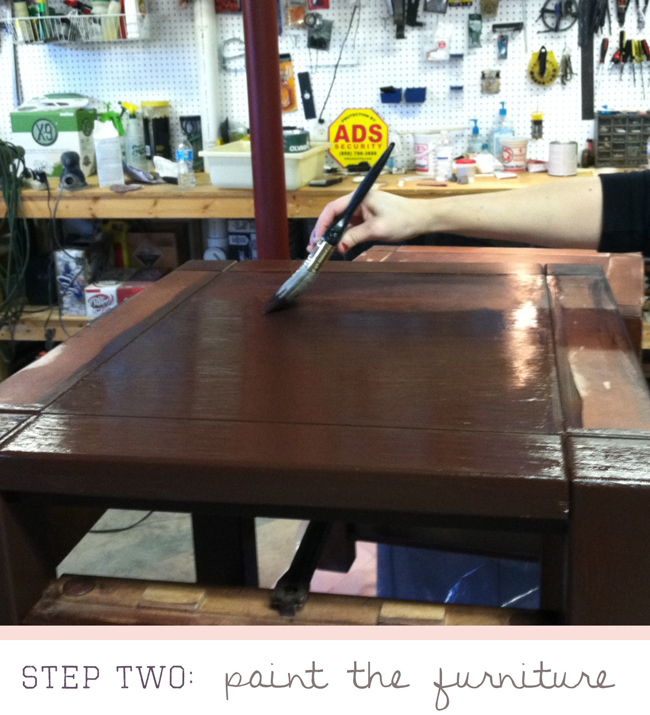
After everything is smooth, now all you have to do is paint. I chose this dark Java Brown shade of Valspar for this piece of furniture. It was a color that looked similar to something I knew Ashley liked and the brand was recommended by a professional at Lowe's.
Quick Tip: If possible, elevate your piece of furniture onto another object. This will help the painting process go quickly. And as with sanding, also be sure that you paint with the grain of the wood.
Once you have one coat of paint, let it dry and then apply a second coat. This particular brand did not take long at all to dry. We basically ate lunch and then it was time for the second coat.
That's pretty much it! If you are a real perfectionist (like my dad) you can also use a paint sprayer on the most exposed parts of the furniture to ensure that there are less brush marks in the final paint job.

Here's our after photo. I think it turned out great and I can't wait for Ashley and Nick to finally see it in person and get to use the end tables in their new apartment!


1 comment:
So gorgeous! I recently redid a 1950's kitchen cabinet. Was so much fun :)
Post a Comment